Oil and water don't mix. So putting oil on your face and rinsing it off with water will leave you with an oil spill of a mess, right? And if you already have oily skin, adding more oil is the worst thing to do, right?
Wrong! Actually, the exact opposite happens!
Using skin-friendly oils to cleanse your face leaves your skin happy, moisturized, and balanced. Plus, it doubles as a makeup remover & can even remove waterproof makeup!
Why the Oil Cleansing Method Works: Like Dissolves Like
The oil cleansing method works on the principle that "like dissolves like."
- Using skin-friendly oils to cleanse your face dissolves & removes the hardened oils that clog up your pores along with dirt, sebum (the natural oils our skin & scalp produce), & impurities that accumulate throughout the day.
- The oil cleansing method also balances your oil & sebum production. When you use harsh cleansers that strip your natural oils, your sebaceous glands work overtime to produce even more of it. The result is an endless cycle of oily skin.
Oils for Your Skin Type
For all skin types, avoid oils with a high comedogenic rating. The comedogenic rating tells you how likely an oil is to clog your pores, with 0 being not likely and 5 being very likely. You want your oils to have a rating of 0-2.
- Oils with high comedogenic ratings that are NOT recommended for oil cleansing include:
- coconut
- olive
- wheat germ
- avocado
- cocoa butter
- palm
This is a general guide to point you in the right direction on which cleansing oils to use and there will always be exceptions. Be sure to test a small area before using an oil over your whole face. Have fun experimenting!
Tips for all skin types:
- The most common oil used for the oil cleansing method for all skin types is castor oil.
- Some people find it drying. If it's drying to you, mix it with a moisturizing oil or omit it.
- It's a thick oil and I like to mix it with other oils to make it a thinner consistency.
- Learn more about castor oil here.
- Look for organic, cold-pressed oils.
- It's best to combine at least 2 cleansing oils.
- Essential oils are optional.
- A lesser used cleanser is tallow. You can add tallow into your oil cleansing routine. Tallow lotion is the best! Learn how to render tallow and make tallow lotion here.
Oily & Acne Prone Skin | Dry Skin | Normal to Combination Skin |
|
|
|
Upgrade Your Oil Cleansing With Essential Oils
My personal favorite essential oils to use in my skincare are Carrot Seed, Lavender, Gentle Baby, and Purification. Below is a list of skin-friendly essential oils:
Essential Oil Blends (The easy button! These contain combos of the single oils in one easy bottle!)
- Bloom
- Contains Sandalwood, Carrot Seed, Geranium, Frankincense
- Essential Beauty Serum for Dry Skin
- Contains Cedarwood, Jojoba, Rosehip, Lavender, Myrrh, Sandalwood
- Gentle Baby
- Contains Geranium, Lavender, Roman Chamomile, Lemon, Rose
- Melrose
- Contains Tea Tree and formulated to support skin
- Purification (my personal favorite essential oil)
- Contains Tea Tree and formulated to soothe skin
Single Oils:
- Carrot Seed
- Cedarwood
- Frankincense
- Geranium
- Lavender
- Lemon (photosensitive so don't use before going in the sun)
- Myrrh
- Neroli
- Patchouli
- Roman Chamomile
- Rose
- Sandalwood
- Tea Tree
How to Oil Cleanse
- Grab a 2 oz. glass dropper bottle or 2 oz glass pump bottle.
- Add your cleansing oils. Any combo. Any ratio. Tips:
- Castor oil is the most popular cleansing oil and most people start with that as the base. Your mix can be anywhere from 10% - 50% castor oil.
- It's best to mix at least 2 different cleansing oils.
- My favorite combo is castor oil and agan oil.
- Add 5-15 drops of essential oils of choice (optional).
- Add a dropper full or 1 pump of your cleansing oil blend in your palm and rub in a circular motion on your face. You don't need much oil. Less is better for this method.
- Massage for 1-2 minutes.
- Rinse with water.
- You can follow with a serum, moisturizer, or toner as desired.
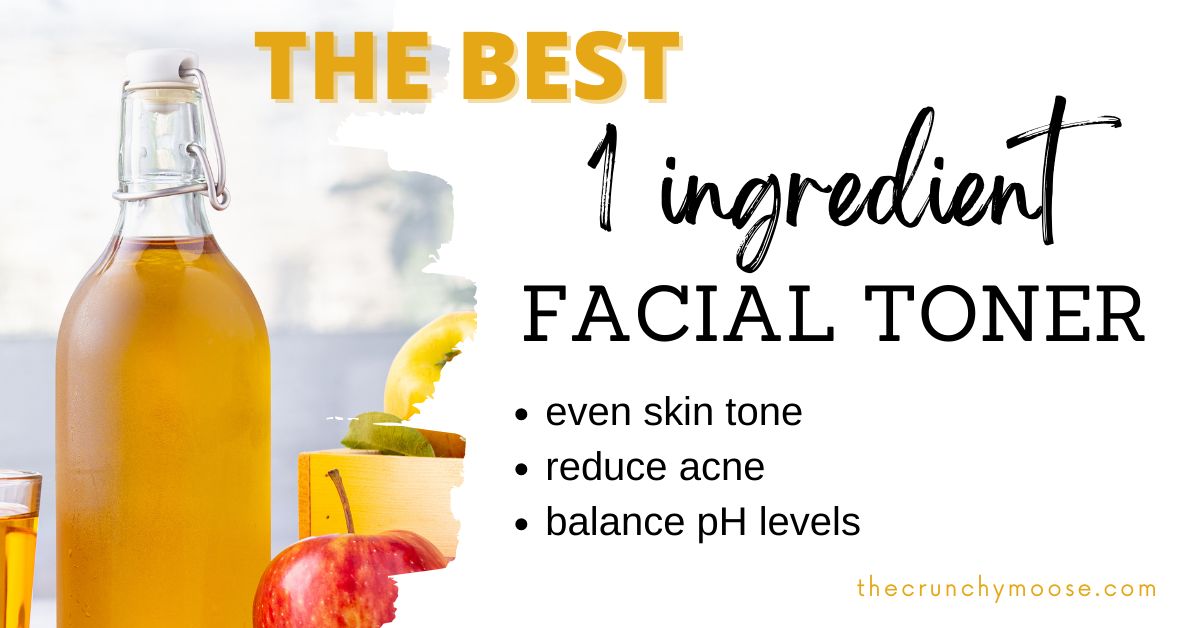
- I use this DIY Toner.
NOTES:
- You can apply makeup after oil cleansing. Some people prefer to oil cleanse at night so any residual oils don't interfere with their makeup. For me, as long as I wait about 30 minutes to apply my makeup, it's not a problem.
- If you do the oil cleansing method in the shower, be sure to clean your shower regularly to avoid a slippery situation.
- It is common to have an adjustment period of 1-4 weeks while your skin adjusts to it's new balanced levels of sebum production. Be patient.
- If you are using a cloth to wash or dry your face, be sure to wash it regularly to prevent rubbing oil built up on your cloth on your face. Also, be mindful of the detergent you use. I use this detergent (get your discount code here).
- Everyone has different skin needs and different desired results. Experiment and have fun finding what works best for you!
Other Uses For Castor Oil
- Castor oil in your belly button
- DIY eyelash serum with castor oil
- Learn about castor oil here
 |  |
Pin this article to save it for later!
Also check out:
 |  |  |
 |  |  |


