Kefir can be fermented with water or milk depending on the type of grains you use. This article is about milk kefir.
Kefir vs. Yogurt
Kefir is a fermented milk drink with a sour taste, made using a culture of yeasts and bacteria. It is similar to yogurt and can be used in the place of yogurt in a lot of recipes. Kefir is easier to make and is great for gut health.
Kefir vs. Yogurt | |
|---|---|
Kefir | Yogurt |
Thinner consistency | Thicker consistency |
Up to 35 strains of beneficial bacteria & yeast | 1-5 strains of beneficial bacteria |
Up to 40 billion probiotic organisms per 1/2 cup | Up to 1 billion probiotic organisms per 1/2 cup |
Made by adding kefir grains to milk | Made by adding lactic acid bacteria to milk |
Smaller curd size | Larger curd size |
Can colonize in the intestinal tract | Can not colonize in the intestinal tract |
Unflavored kefir is tart & has a yeast taste | Unflavored yogurt is tart & creamy |
Probiotics and Kefir
There's good bacteria and bad bacteria. If you have more good bacteria than bad, then the good is winning and helps keep you healthy. Probiotics are the good bacteria.
Probiotics may help alleviate allergies, protect against infections, improve digestion, and support brain function. If you have food allergies, seasonal allergies, indigestion, headaches, or cramps, it is possible that your intestinal flora & bacteria are out of balance. Those are all symptoms of bad bacteria taking over. By increasing the amount of good bacteria (probiotics) you ingest, you might be able nip all of that in the bud.
- Learn more about probiotics here.
- Get more tips to naturally support digestion and relieve constipation here.
 |  |
How To Make Milk Kefir
Easy! You need milk kefir grains, milk, jars, and a strainer. Ask around in your local holistic facebook groups and you'll probably find someone that can share some kefir grains with you.
Milk Kefir Instructions
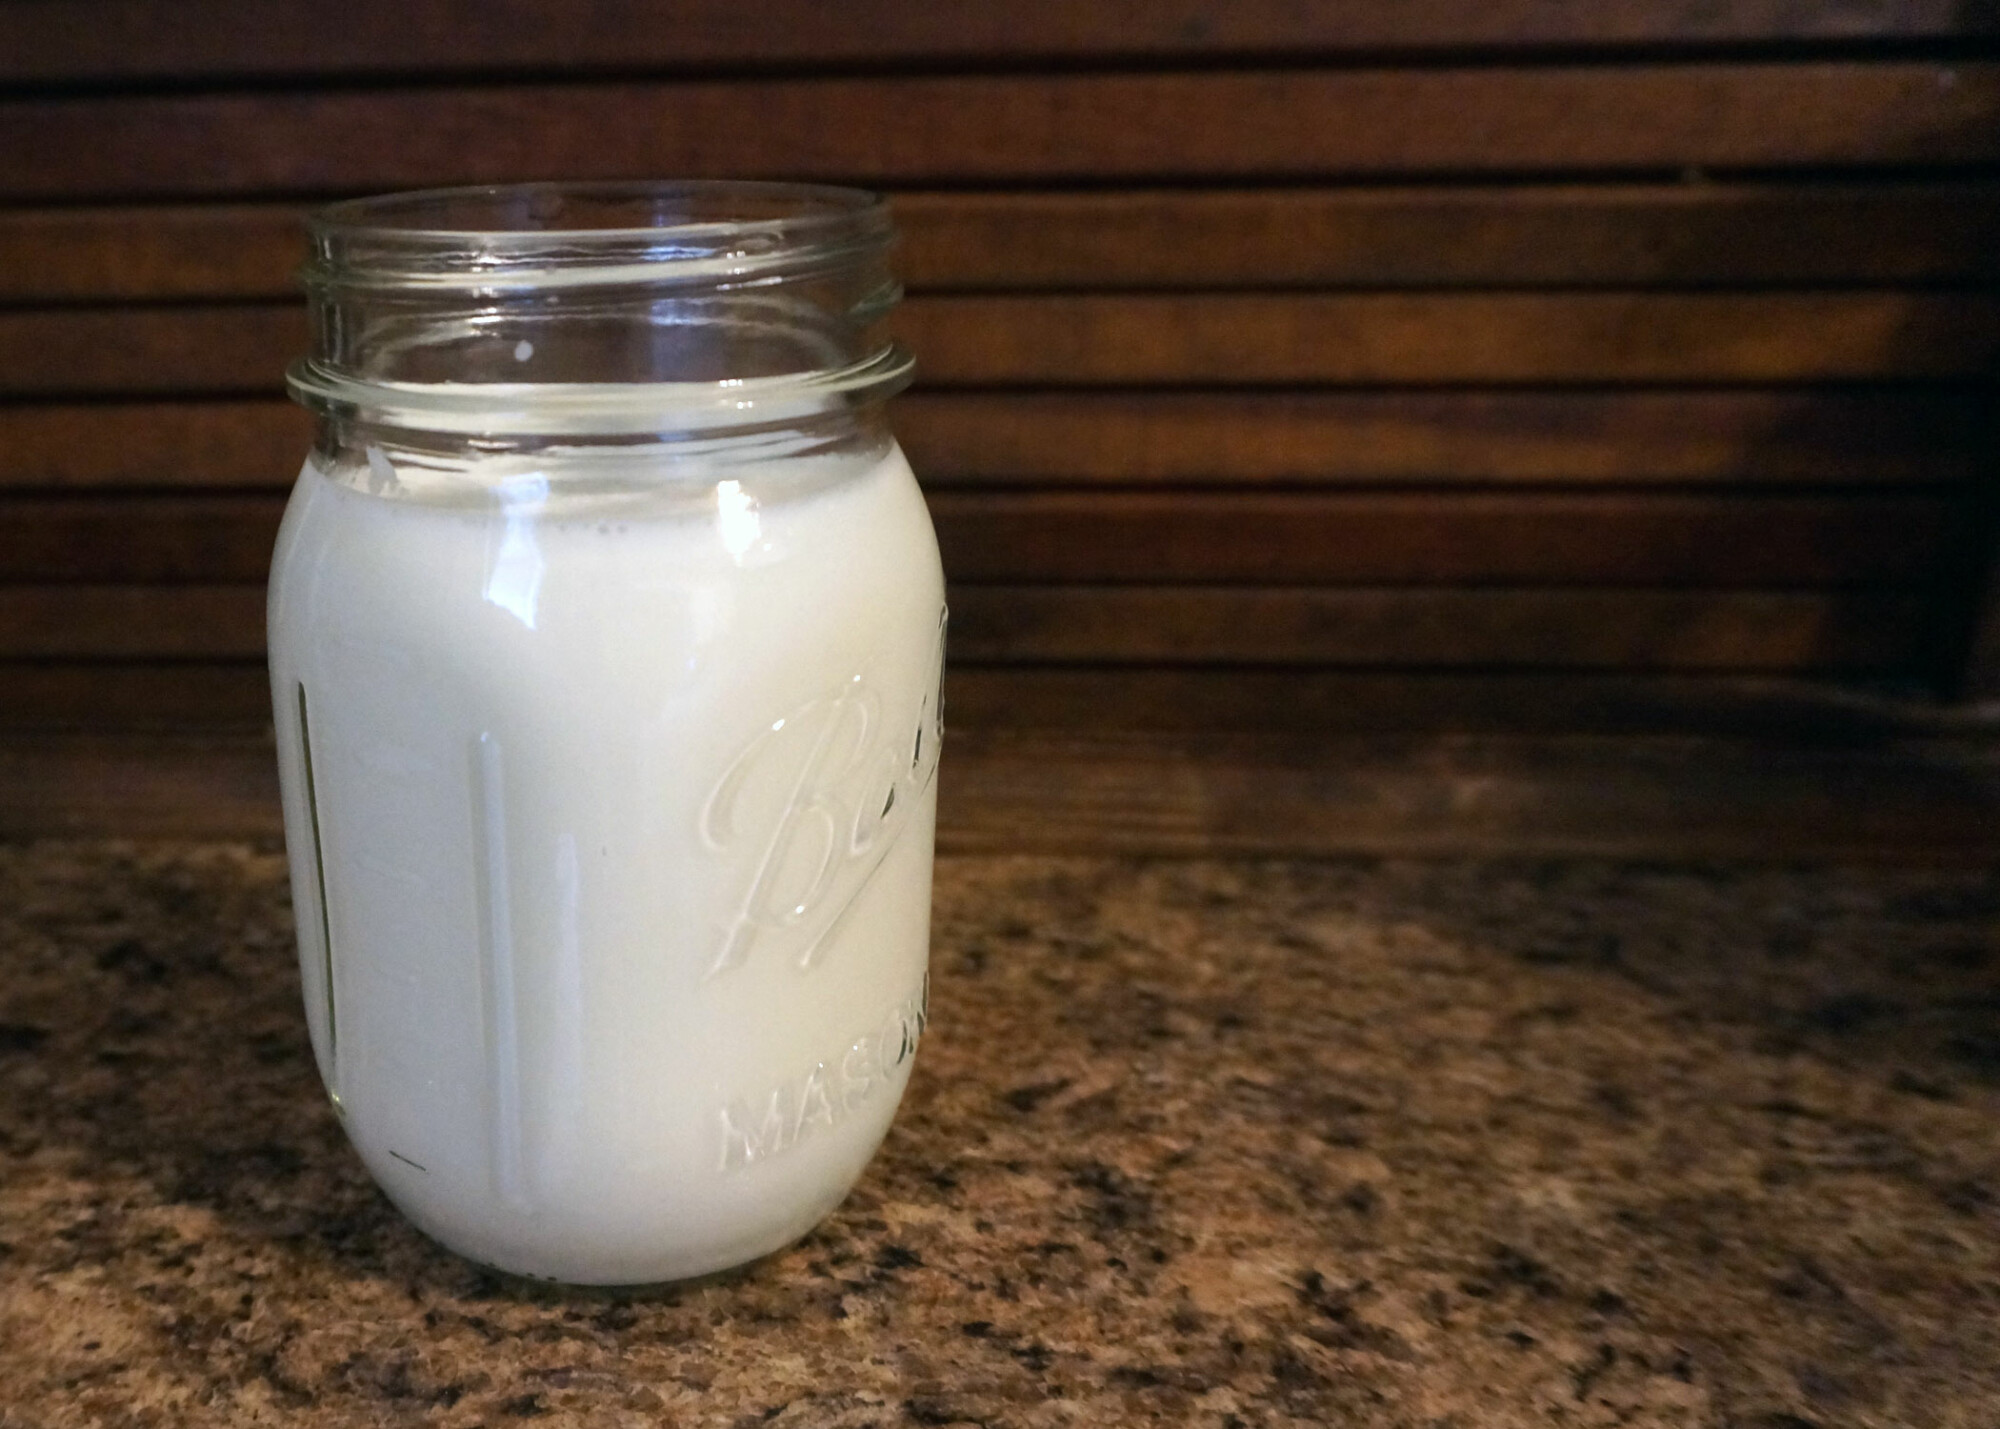
- STEP 1: Put your grains in a quart glass mason jar with a plastic lid. Experiment with how much grains you use (warmer conditions = faster fermentation; more grains = faster fermentation). I use about teaspoon of grains to to a quart of milk.
- STEP 2: Add milk. You can use any milk you want. I use raw dairy milk. If you use dairy free / nut milks, the result will be a thinner consistency and it will separate quickly -- just stir it up and you're good to go.
- STEP 3: Put the plastic lid on your jar. Set the jar on your counter and leave it there for 12-36 hours. The longer it ferments, the more yeasty it will taste.
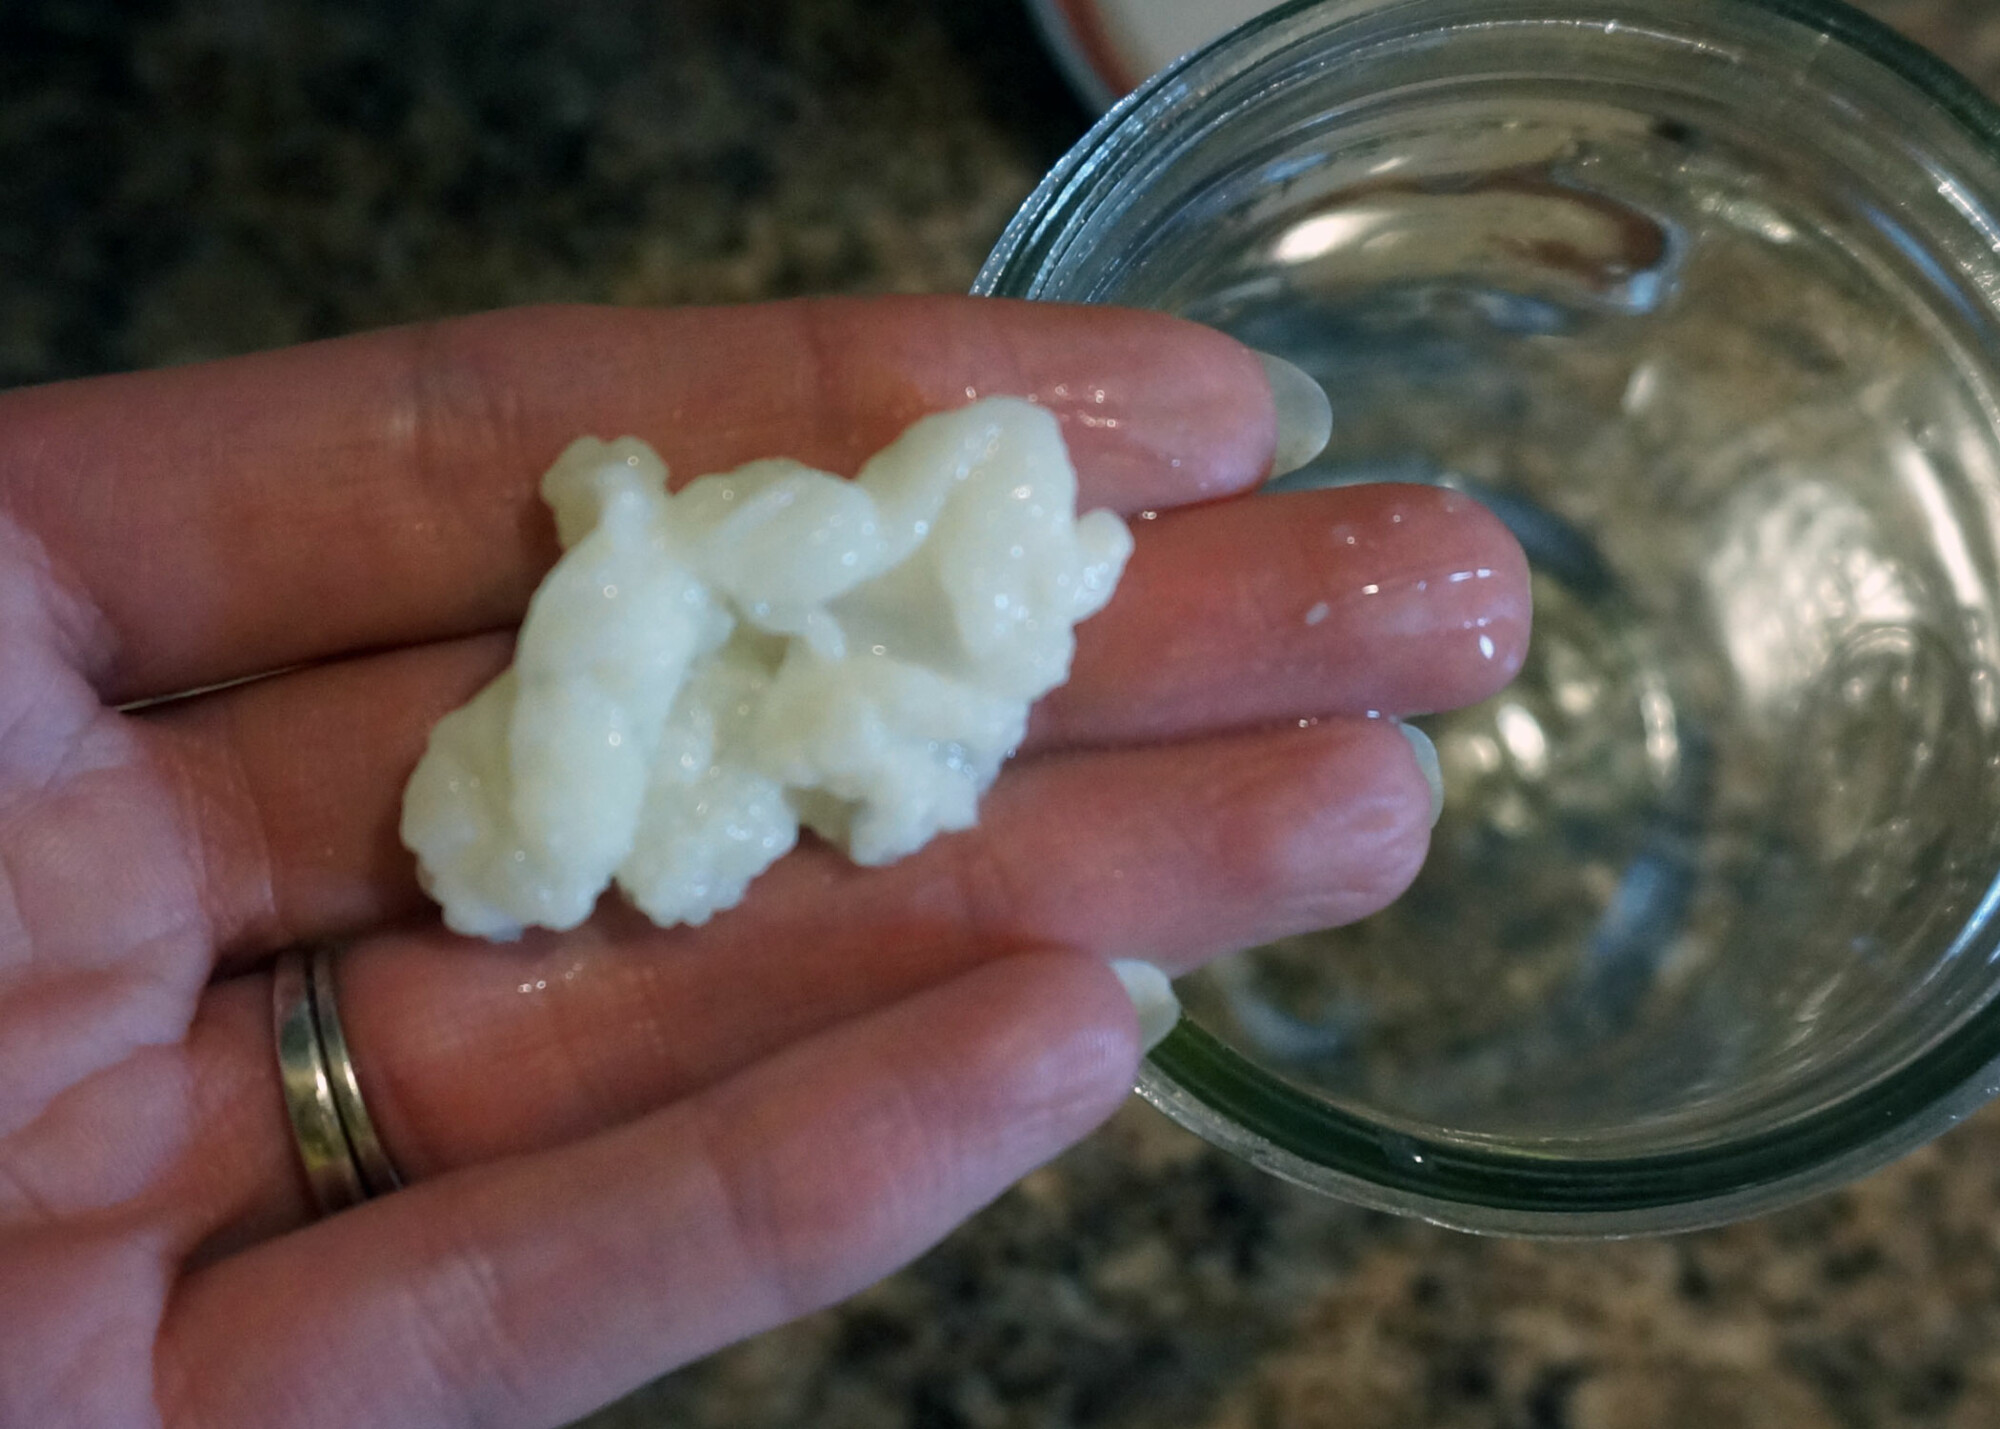
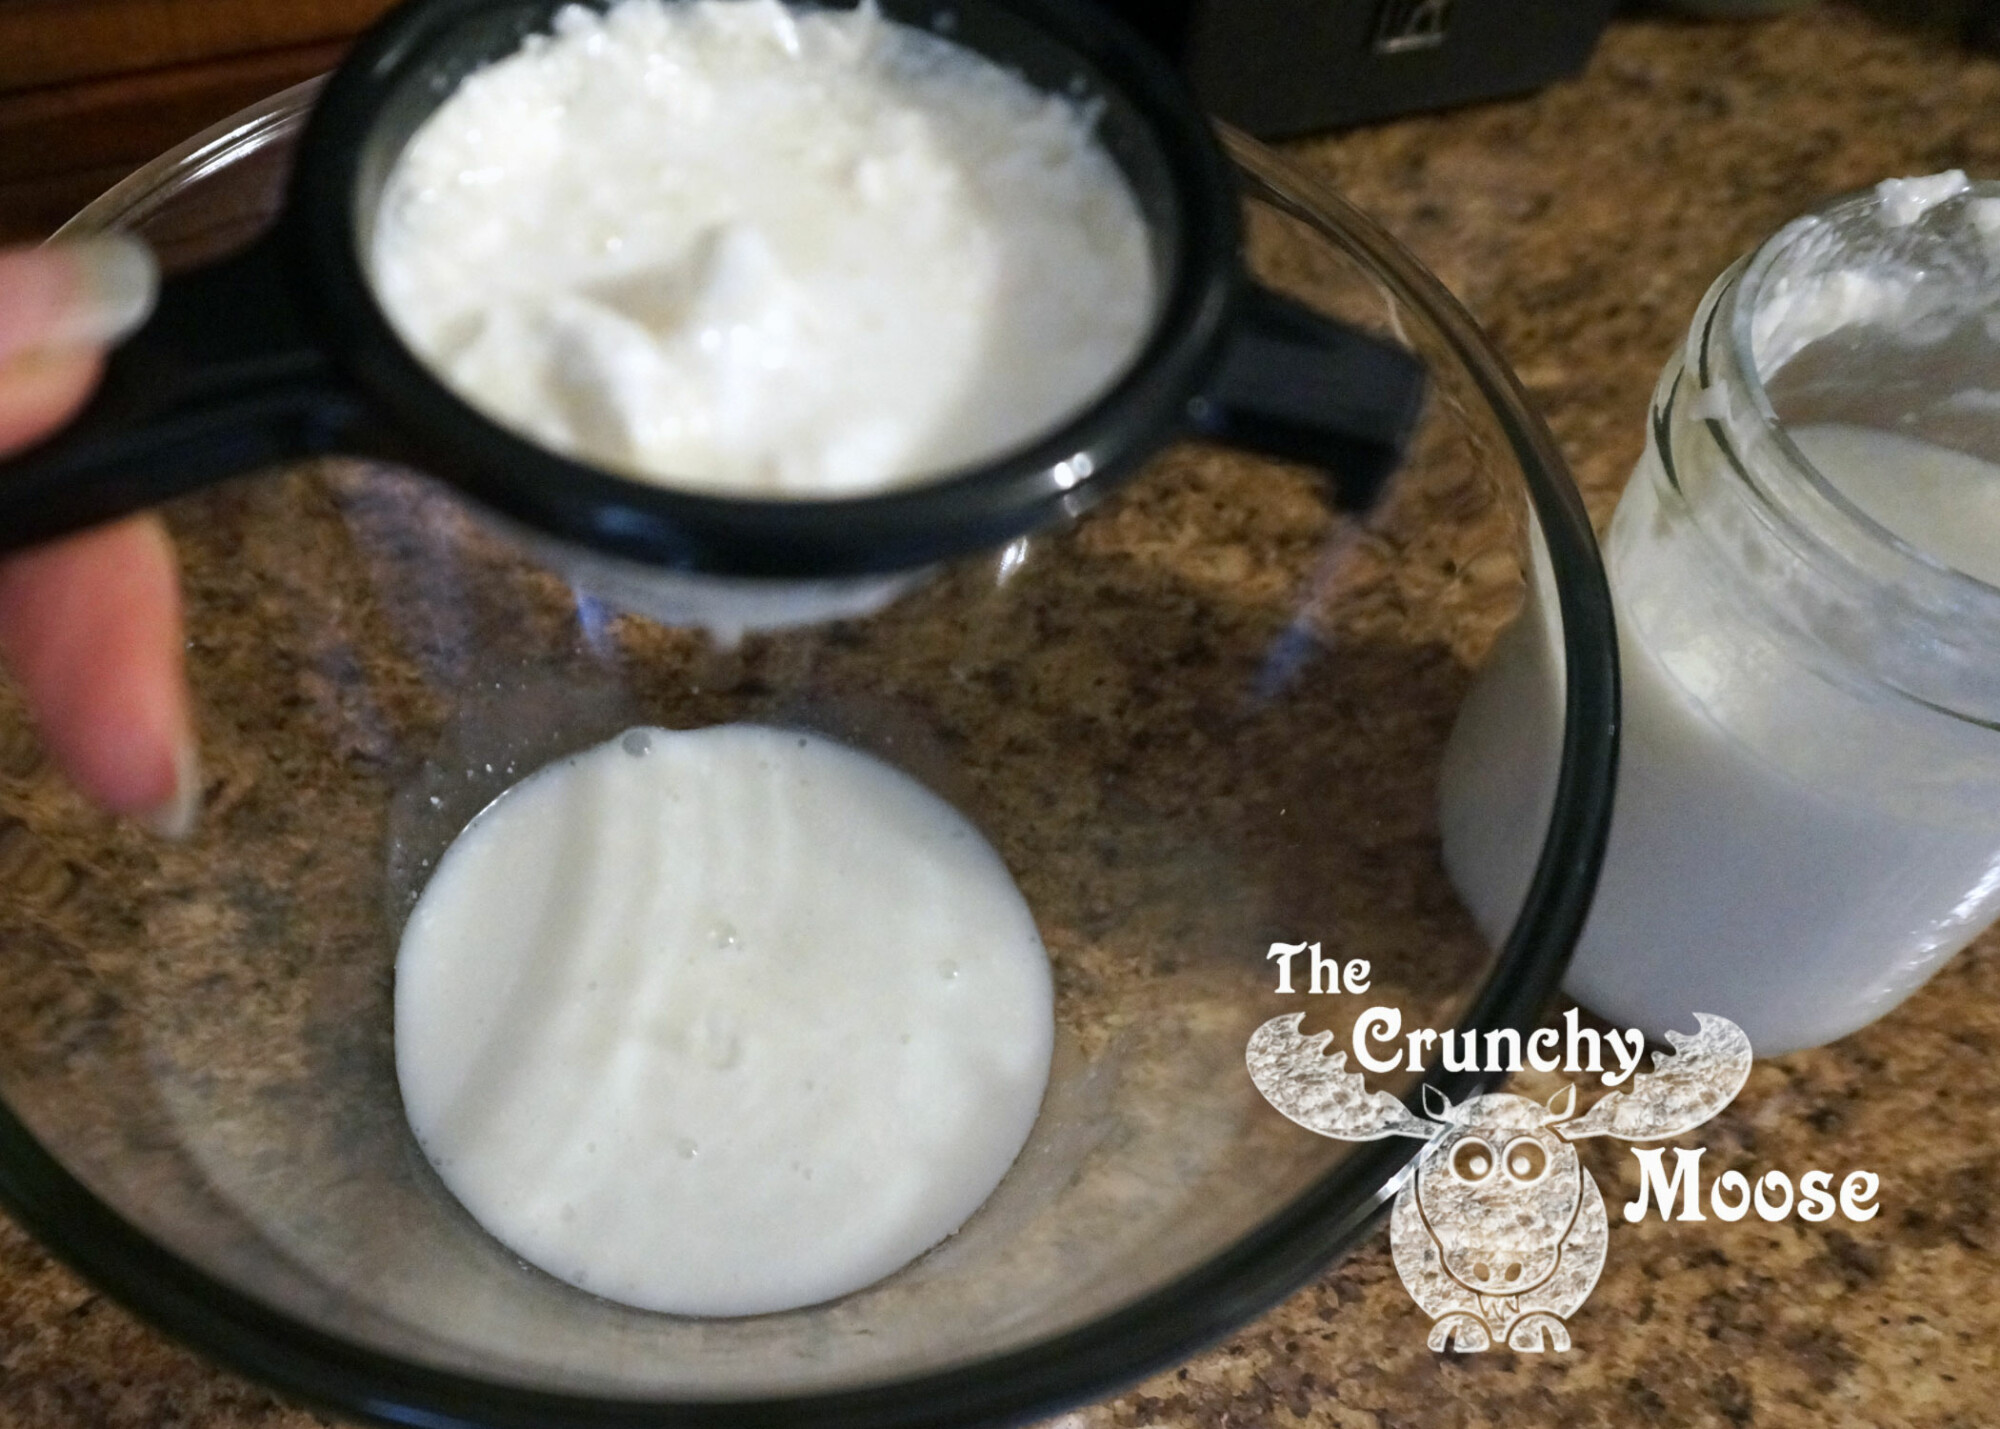
- STEP 4: Strain your kefir. Don't use a metal strainer -- I like nylon strainers. The grains will be clumped together. Remove them
- STEP 5: Repeat from step 2 using a clean jar.
After you strain your kefir, it’s ready to consume! Or it can be stored in the fridge until you are ready for it.
 |  |  |
Caring For & Sharing Your Kefir Grains
If properly cared for, your grains will never die. Here are some tips:
- In between batches, you can hibernate your grains in the fridge. I put them in a mason jar with just enough milk to cover them. Don't use a metal lid, these jars have a plastic lid. They can hibernate for about a month. It may take 2-3 batches for them to fully wake up after hibernation.
- If you need them to hibernate for longer than a month, you can dehydrate them. See the FAQ below for dehydration instructions.
- You do not need to rinse your grains between batches. I don’t rinse them. If you do, use super clean, filtered, not chlorinated water. Contaminated water will kill your precious grains. I use a Berkey filter.
- They will grow & multiply. By my 3rd batch, my teaspoon of grains almost doubled.
- You can share! When your grains have grown, you can split them and share them with friends and family.
Proceed With Caution
If you do not currently consume fermented foods regularly or take a probiotics supplement, you will want to start slowly. Start by drinking just a few sips a day and work up to a couple cups a day. Your body (ummm…..digestive system) will take a little bit of adjusting. All of these natural probiotics are powerful and detoxifying. It won’t take long for your body to adjust, but there is an adjustment period.
What Do I Do With Kefir?
If you are continuously fermenting, you will have a lot of kefir quickly.
- Drink it
- Make smoothies
- Mix in fruit, sweeteners (I like to use honey), nuts, oats, etc to make a kefir parfait
- You can cook with it, but when you heat your kefir, the beneficial bacteria will die
- Kefir can be a substitute in your recipes for sour cream, cream, milk, buttermilk, or yogurt. You might need to adjust the amount you use.
- Substitute kefir for sour cream or yogurt in salad dressing recipes
- Add it to popsicle recipes to make a creamsicle
- Use kefir to make cheese
- Use kefir to wash your hair. Learn about that here.
- Make pore strips! Learn how here.
Kefir Q&A
- How do I know when my kefir is ready & done fermenting?
- It's a choose your own adventure experience! The more it ferments, the more "yeasty" it will taste. If you like it more fermented & yeasty, let it ferment longer. It will also get thicker as it ferments.
- What do I do if the kefir separates?
- That's just the kurds & whey. Separating is what kefir does. Just stir it up and you're good to go! Non-dairy milk kefir will separate more than dairy kefir because of the high water content.
- I did the exact same fermentation as last time and my kefir is different. Why???
- The temperature and humidity in your house will affect your fermentation. The amount of grains will also affect it and your grains will continue to grow. So every time you ferment, it will be a little different. You'll learn how to "read the room" and how your grains will respond the more you ferment.
- Can I combine kefir batches when I store them in the fridge?
- Yep! You can combine your batches.
- How do I dehydrate / dry my grains?
- Rinse your grains with filtered, non-chlorinated water. I use a Berkey filter.
- Lay the grains out on a non-bleached paper towel, dish towel, or parchment paper.
- Cover with a to keep dust off your grains. Leave for 3-5 days until hard and yellow.
- Store in a plastic bag or jar (no metal) in the fridge or freezer.
- Wake up your grains by covering them with milk and starting the fermenting process. It may take a few batches to wake them up completely.
- Can I mail my grains?
- Yep! Dehydrate them and mail them. Sharing is caring!
Pin this article to save it for later!
Also Check Out:
 |  |  |


