Oh no! You got lost on the moose trail!
The page you are looking for no longer exists. But don't hurry off! Stay awhile & look around! Turn this into a happy little accident and find your new favorite blog post!


Let's chat about natural, holistic, & happy living while making it super simple & fun!
Join The Crunchy Moose community and I'll send you a free copy of my eBook The Beauty Remix full of your new favorite DIY recipes!
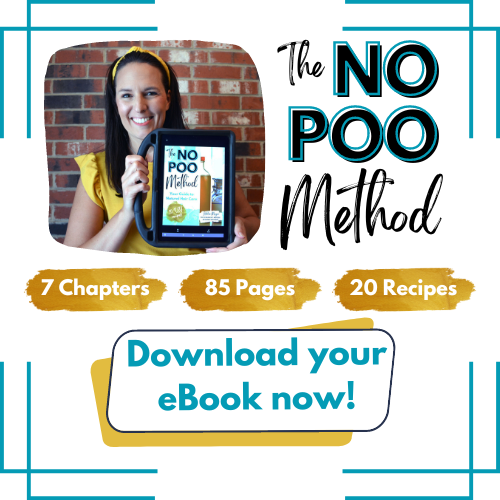
The No Poo Method eBook
The No Poo Method is your guide to find a natural hair care routine that works for you, at whatever level you want to take it.
Are you ready to dive right in and ditch all your commercial hair products? This book will walk you through that process!
Or do you just want to learn how to naturally nourish your hair with an occasional deep conditioner or serum That’s here, too!
Howdy! I'm Ashlee.
I'm glad you're here! Let's chat about holistic, natural, & happy living. The Crunchy Moose is loaded with DIY beauty recipes & home remedies. Learn more about Ashlee here.
 |  |  |  |  |

This site is for informational purposes only and is not intended to be medical advice. We hope this information motivates and empowers you to make your own wellness journey decisions based on your own research and partnership with your healthcare provider. If you are pregnant, nursing, taking medication, or have a medical condition, consult a health professional prior to use. Information on this site should not replace or substitute professional medical advice, diagnosis, or treatment. The statements here have not been evaluated by the FDA. These products are not intended to diagnose, treat, cure, or prevent any disease.
Copyright Peppermint Soul, Inc. Full Disclaimer Here